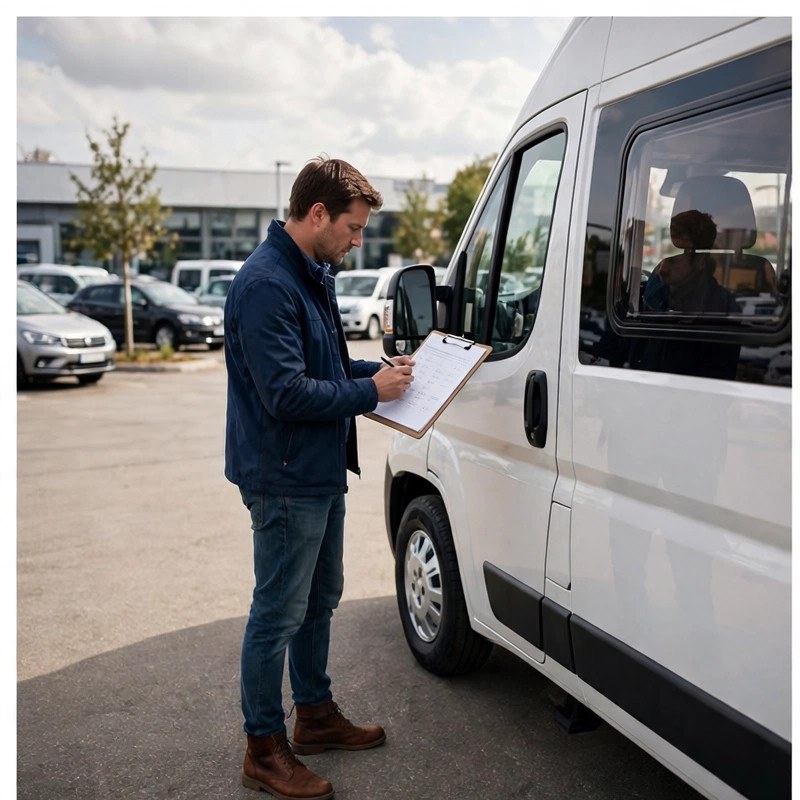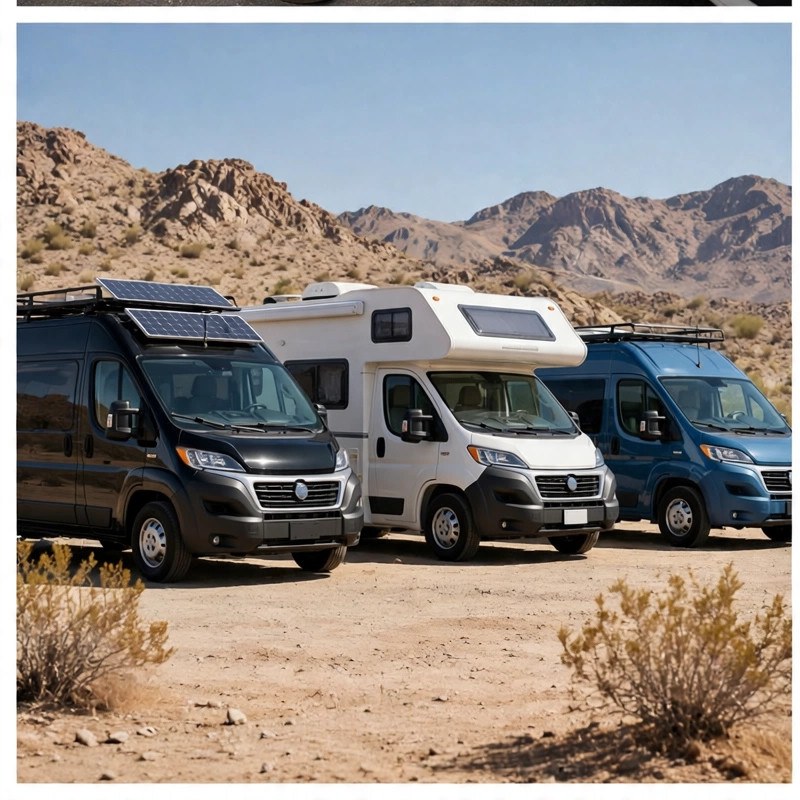
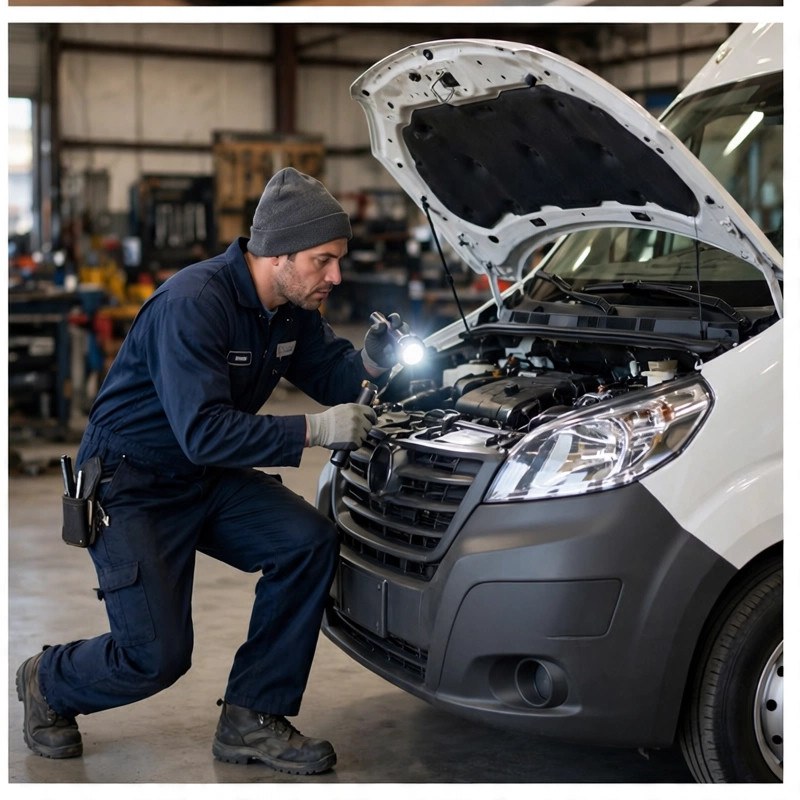
A camper van is two purchases in one: a used vehicle and a tiny house. Most buyers inspect one and wave at the other. Use this checklist to do both — print it, bring a friend, and take your time.
Before you go
- Run the VIN (title status, accidents, odometer, recalls)
- Ask for service records and the build documentation in advance
- Bring: flashlight, OBD-II scanner ($20, worth it), tire tread gauge, phone charger (to test outlets)
- Schedule so you can see the van cold — a pre-warmed engine hides starting issues
Chassis & drivetrain
- Rust: frame rails, rocker panels, wheel wells, underbody. Surface rust is normal; flaking or holes are walk-away.
- Fluids: oil (milky = head gasket), transmission fluid (burnt smell = trouble), coolant level.
- Tires: date codes (over 6 years old = replace regardless of tread), even wear.
- Test drive: cold start, highway speed, hard braking, tight turns. Listen for clunks, grinding, whining.
- Scan it: OBD-II for stored codes, even with no dash lights. Sellers clear codes; history remains.
- Roof: check every seal, vent, and solar mount for cracked sealant — the #1 source of van leaks.
The conversion
- Smell test: musty = water intrusion. Find it before you buy it.
- Cabinetry: open everything. Soft spots, loose hinges, and gaps mean moisture or rushed work.
- Insulation: ask what was used and whether there's a vapor barrier. No insulation = condensation problems.
- Windows & fans: every opening seals, latches, and the fan runs at all speeds.
- Bed & seating: actually lie down. Convert the bed yourself — if it's annoying in a driveway, it's miserable at midnight.
Electrical test
- Check the battery monitor: voltage at rest, and under load
- Run every light, fan, pump, and outlet — including the inverter under a real load (plug in a laptop)
- Look at the wiring: fused within inches of the battery, no household wire nuts, no bare splices
- Ask the battery age — lithium lasts a decade, AGM 3–5 years, and replacement is $1,000–$8,000
- Verify solar actually charges: check the controller display in sunlight
Know what you're looking at
Our electrical sizing guide explains what a healthy system looks like — read it before the inspection, not after.
Plumbing test
- Run every faucet; check for leaks under sinks and at the pump
- Fill and drain the tanks — verify gauges read correctly
- Shower: water pressure, hot water time-to-temp, drainage
- Toilet: flush mechanism, seals, odor
- Look underneath for drips after the test
Paperwork
- Title matches the seller's ID and the VIN plate — all three
- No liens (or a clear payoff plan through the lender)
- Registration current; emissions/safety inspection status for your state
- Bill of sale listing the van and the conversion value separately
- Insurance quote secured before money changes hands — see our insurance guide
When to hire a pro
For any van over ~$40,000, a pre-purchase inspection by an independent mechanic ($150–$300) is the best money you'll spend. For the conversion specifically, some van shops offer build inspections — worth it on expensive pro builds. If the seller resists an independent inspection, that's your answer.
Ready to shop? Browse vans for sale →